5 Tips For Installing Balustrade Wire

Handy Tips For First Time Balustrade Wire Installation
Attention first time wire balustrade installers:
Here are some useful tips which can make your wire balustrade installation process run more smoothly. For many home owners, installing balustrade wire might only happen once in a lifetime and once it's installed it won't be modified further.
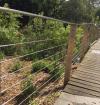
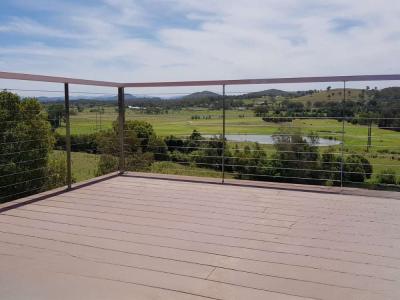
Apart from its minimalist aesthetic appeal, wire balustrade is a legal method for creating a barrier to prevent fall and injury. It's commonly used outdoors around decking and patios, stairs and ramps as well as internally in home and warehouse staircases and mezzanine floors.
If you're looking for some ideas on how to choose the right wire balustrade for you, then check out our 'How to Install Wire Balustrade' guide.
Balustrade wire installation traps for new players
"Learn from the mistakes of others. You can't live long enough to make them all yourself." - Eleanor Roosevelt
Experience is great, except we often get it too late... after we needed it!
Yes life can be kind of annoying like that... but you're smart and/or lucky and found this tips 'n' tricks page sooooooo... now your wire balustrade project should be that little bit easier.
OK, let's get right into it then.
Tip 1: Know the wire balustrade regulations prior to installing support or intermediate posts.
We see this time and time again:
the deck is complete...
the timber posts are in place...
...and now the wire balustrade needs to retrospectively fit within what has been constructed.
It should actually be the other way around; the posts should be designed around the wire balustrade regulations. If they haven't been, be prepared for a few potential speedbumps.
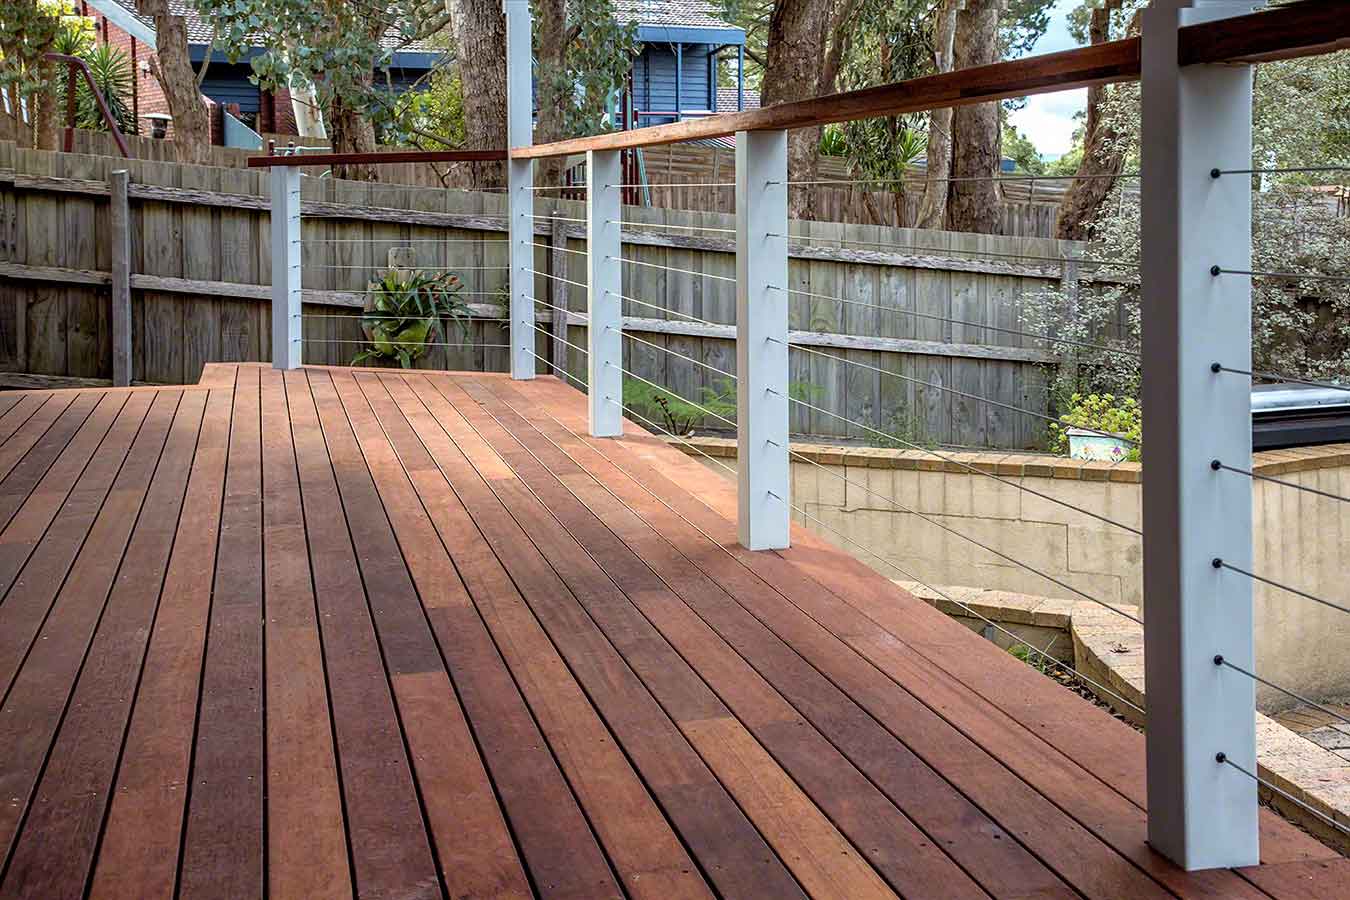
The National Construction Code (NCC) stipulates wire balustrade regulations in Australia. The main aim of wire balustrade is for safety, to produce a suitable barrier to prevent injury or death. There is room to play within the regulations: 60, 80 or 100mm wire spacing; intermediate post spans between ~800-2000mm; and varying wire tension. However, if your intermediate posts are spread too far apart, then you'll need more runs of wire (ie. shorter spacing between your wires) or you'll need to increase the wire tension.
With some planning, the correct post spacing to support the handrail can be combined with intermediate posts to prevent wire spreading to meet wire balustrade regulations. As a general rule, 80mm wire spacing with 1000-1500mm intermediate post spans will allow you to more easily meet the NCC requirements. Wire balustrades built within these specifications should be easy enough to tension without exceeding the safe workload of the wire.
Tip 2: Consider the ease of installation of a system, not just price
There is no such thing as 'the cheapest and easiest' when it comes to wire balustrade. If this were the case, there wouldn't be a range of choices.
Also, wire balustrade installation can be laborious, especially when there are many wire runs required.
The biggest factor which influences ease of installation is the swaging (pronounced 'sway-jing') or crimping method. Swaging comes in two main methods: mechanical swaging or hydraulic swaging.
If time is not a major concern, degree of installation difficulty not a priority nor the appearance of the finished wire assembly, then mechanical swaging systems are your best option. The tools, fittings and wire are relatively low cost and commonly available.
If you want easier installation and increased aesthetic appeal — more slimline and minimalist — then look for hydraulic swage systems.
The truth is, hydraulic swage systems are not that much more expensive than mechanical swage systems. As the hydraulic swage system tools are the main cost increase driver, they're amortised across larger projects, often resulting in a negligible cost difference. Often neighbours, friends or family will be keen to borrow (buy?) the hydraulic tools from you once they see your neat handiwork, too!
Tip 3: To reduce the workload, get the right tools and an extra set of hands
The most laborious parts of a wire balustrade project are the wire measuring/cutting, swaging/crimping, followed by the post hole drilling and end post fitting installation.
It is much easier to measure balustrading wire from a reel when there are two of you. Most systems can be installed by one person, but some require two people.
You can do the wire cutting like in a production line. It can be done prior to the post hole preparation, or after. Most wire balustrade systems have a 'wire length' measurement that applies to any length. For example, for our Wire Balustrade Kit #1 – Jaw/Swage System we recommend customers deduct 210mm from the internal post-to-post measurement, for lengths up to 10M.
Tools
Parrot beak wire rope cutters allow you to shear the wire easily with two hands, without needing power tools.
Consider hiring a 30T hydraulic swaging press to make the installation even less physical work – one crimp and the wire end is complete.
Bonus tip: Consider purchasing a drill guide tool to help you drill your holes straight. This may add unexpected cost to the project but could save you frustration and will ensure perfect post hole alignment.
Handy Bonus Tip: Swaging/crimping can be done separately to the post fixings, hole prep and wire length measuring/cutting. So if you'd like to hire a press, but have limited time to use it, then do the prep and cutting first and spread the project over a week or two weekends, rather than trying to kill yourself over one weekend. You'll enjoy the process a lot more, too!
Tip 4: Make or purchase a post hole template
Keep the template as thin as possible – even just some low cost 3mm MDF would suffice. The aim is to use the template to accurately mark the holes. If the template is too thick, then your pre-drilled template holes may be off-centre, resulting in a skewwhiff line of holes vertically up your post (and on every post for that matter!).


You can make a post hole template from MDF or purchase a pre-drilled aluminium one
Bonus tip: When drilling your holes, use a long series drill bit, and drill your posts from both sides rather than one drill hole the whole way through. Your holes can join up in the middle, inside the post. If you do this you'll avoid the hole chipping the timber as the drill exits the post. Importantly, your holes on either side of the post will be in alignment allowing the wire to pass straight through. Still got rough holes? You can cap them off with nylon grommets.
Tip 5: If using timber posts, use hardwood or cypress end posts
If you can, use cypress or hardwood end posts.
Wire balustrade regulations require significant tension for the barrier to be suitable. This ensures wire deflection is minimised. Wire balustrade post fixings installed into softwood cannot withstand as much tension as hardwood or cypress pine. Under the same tension, a fitting might rip out of the softwood post whilst remaining embedded in a hardwood post. In general, it is recommended to use cypress or hardwood end posts for these reasons.
If you are stuck with softwood end posts, then it's recommended to reduce the wire tension requirements. This can be achieved by installing more wire runs, or reducing the intermediate post spans by installing more intermediate posts. Another alternative is to use a wire balustrade system that uses fixings on the outsides of the opposing posts such as this one. By using washers the load is spread across a greater area.
Bonus Tip: Make sure your handrail is in place before you cut your wire, or install it. Balustrade wire puts enormous pressure on end posts. If the handrail is not in place, the posts will bow and never tension properly. Trust us, people do it, it happens!
About the Author

Related Posts


How Wire Balustrading Gorgeously Completes Garden Getaways

Gordon's Great Ocean Road Project

Related Products