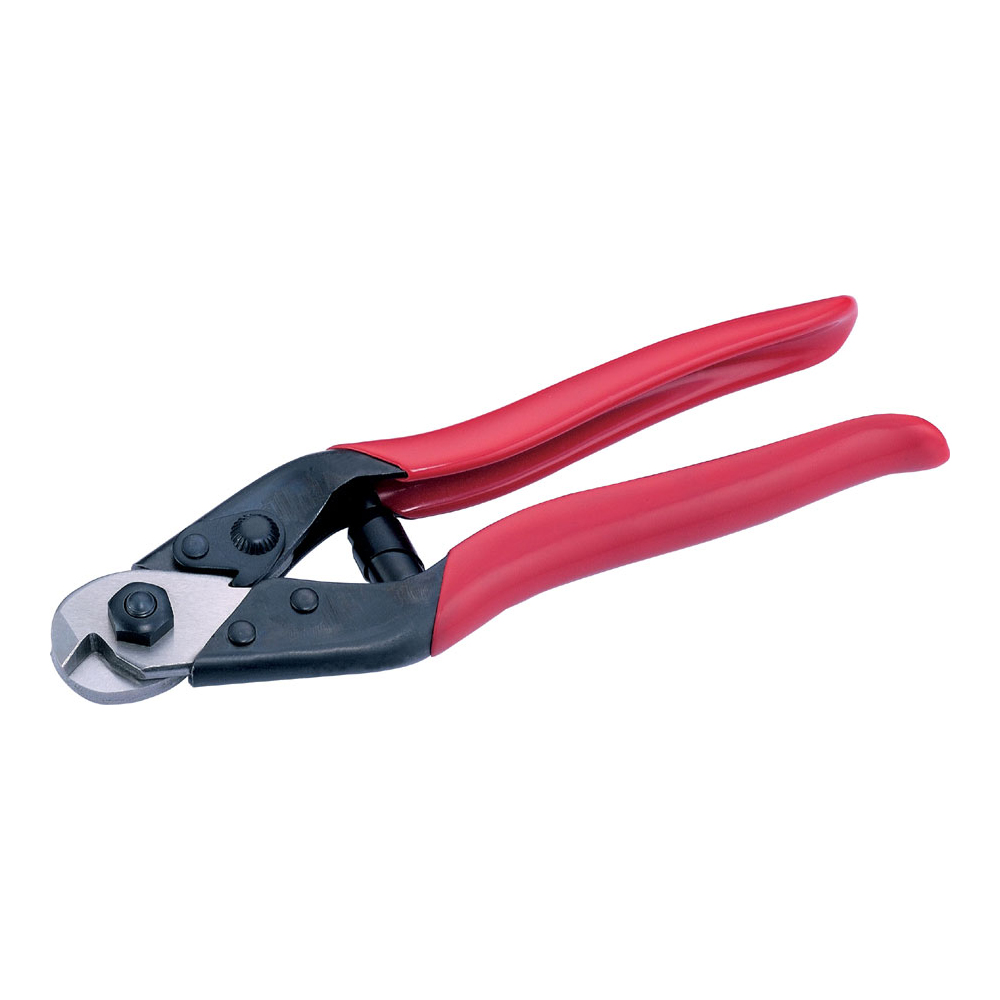
This is one of the most elegant, slimline DIY balustrade kits available in the market. If you want the least visual bulk less the price tag shock, then have a look. For flat runs between timber posts but can be converted for use on stairs with swivel connectors. Hydraulic swaging/crimping required.
A staff favourite, this stainless wire balustrade kit is slimline, neat and aesthetically pleasing. It's designed to minimise the visual impact of your wire balustrade. It is quite easy to install , reducing the 'hidden' labour cost of some of the lower cost systems available.
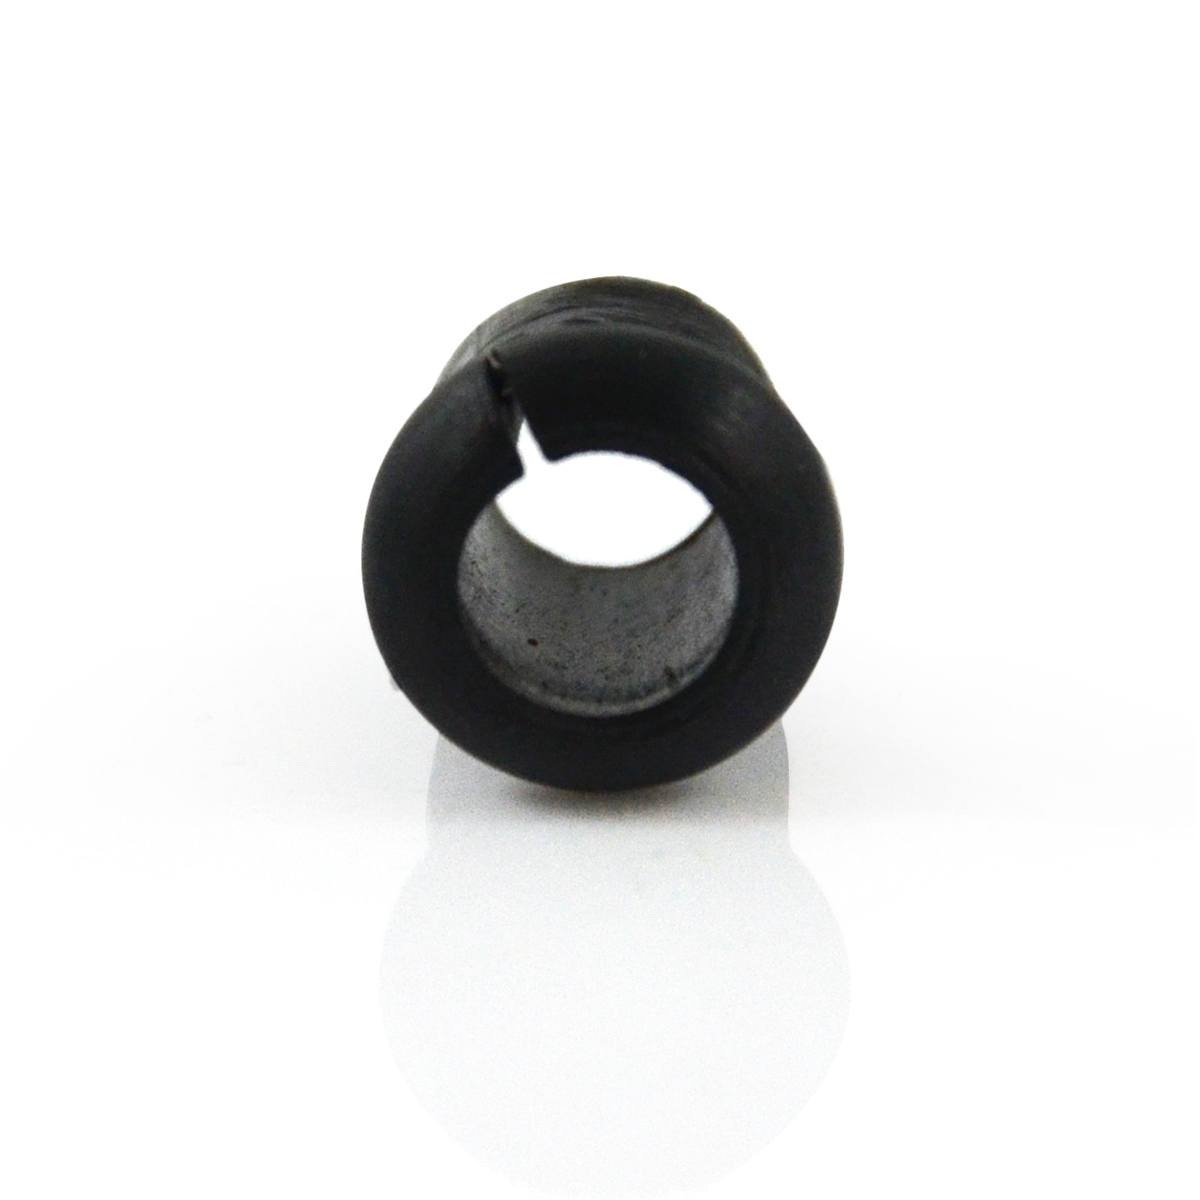
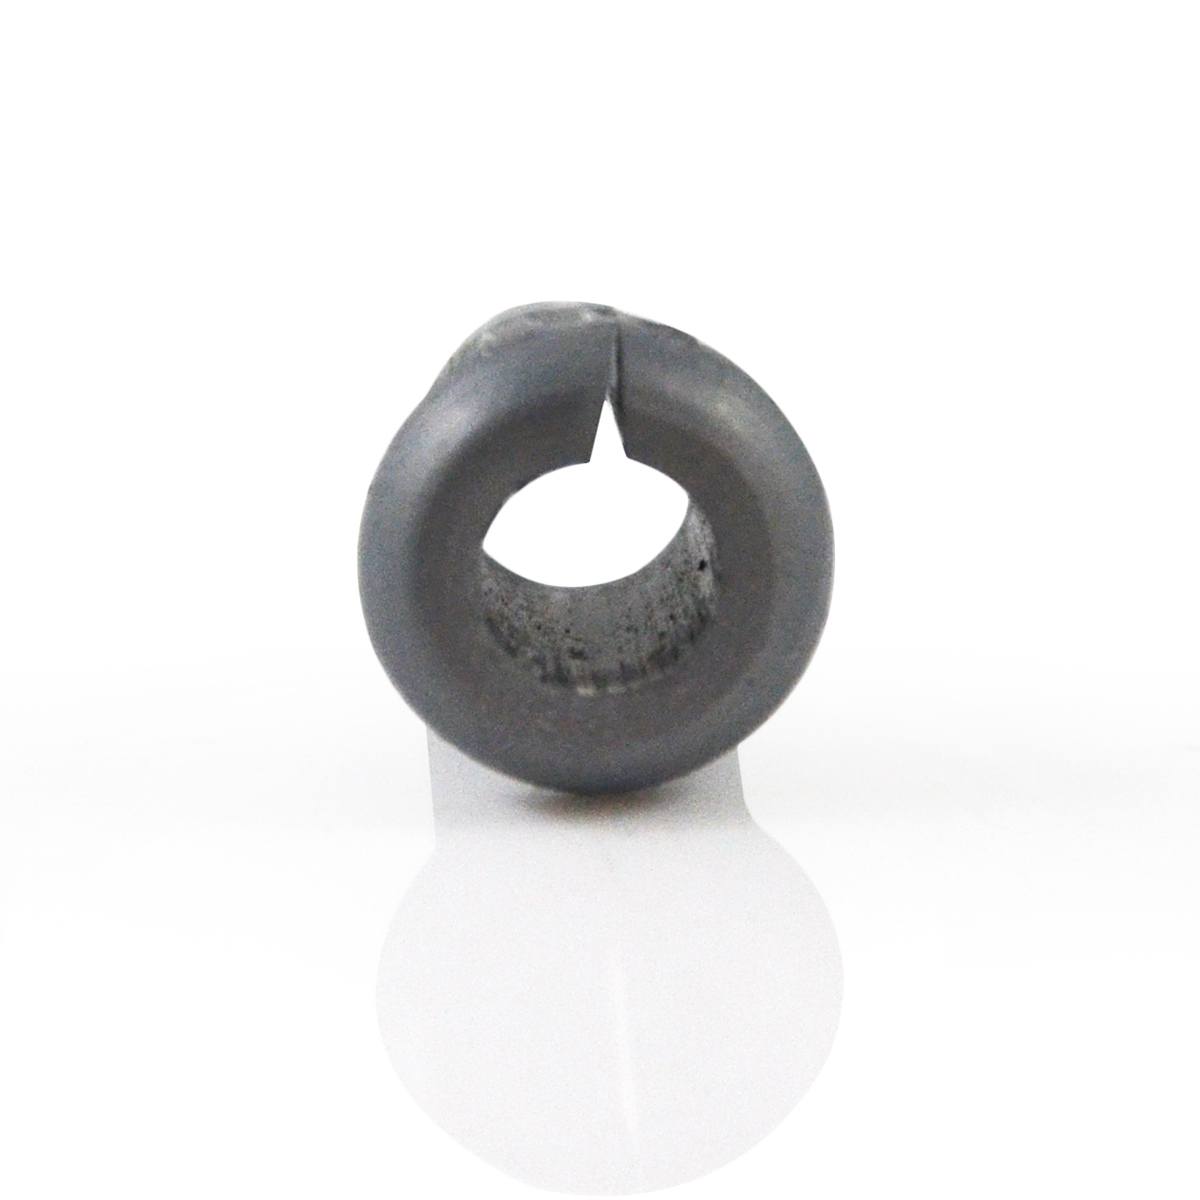
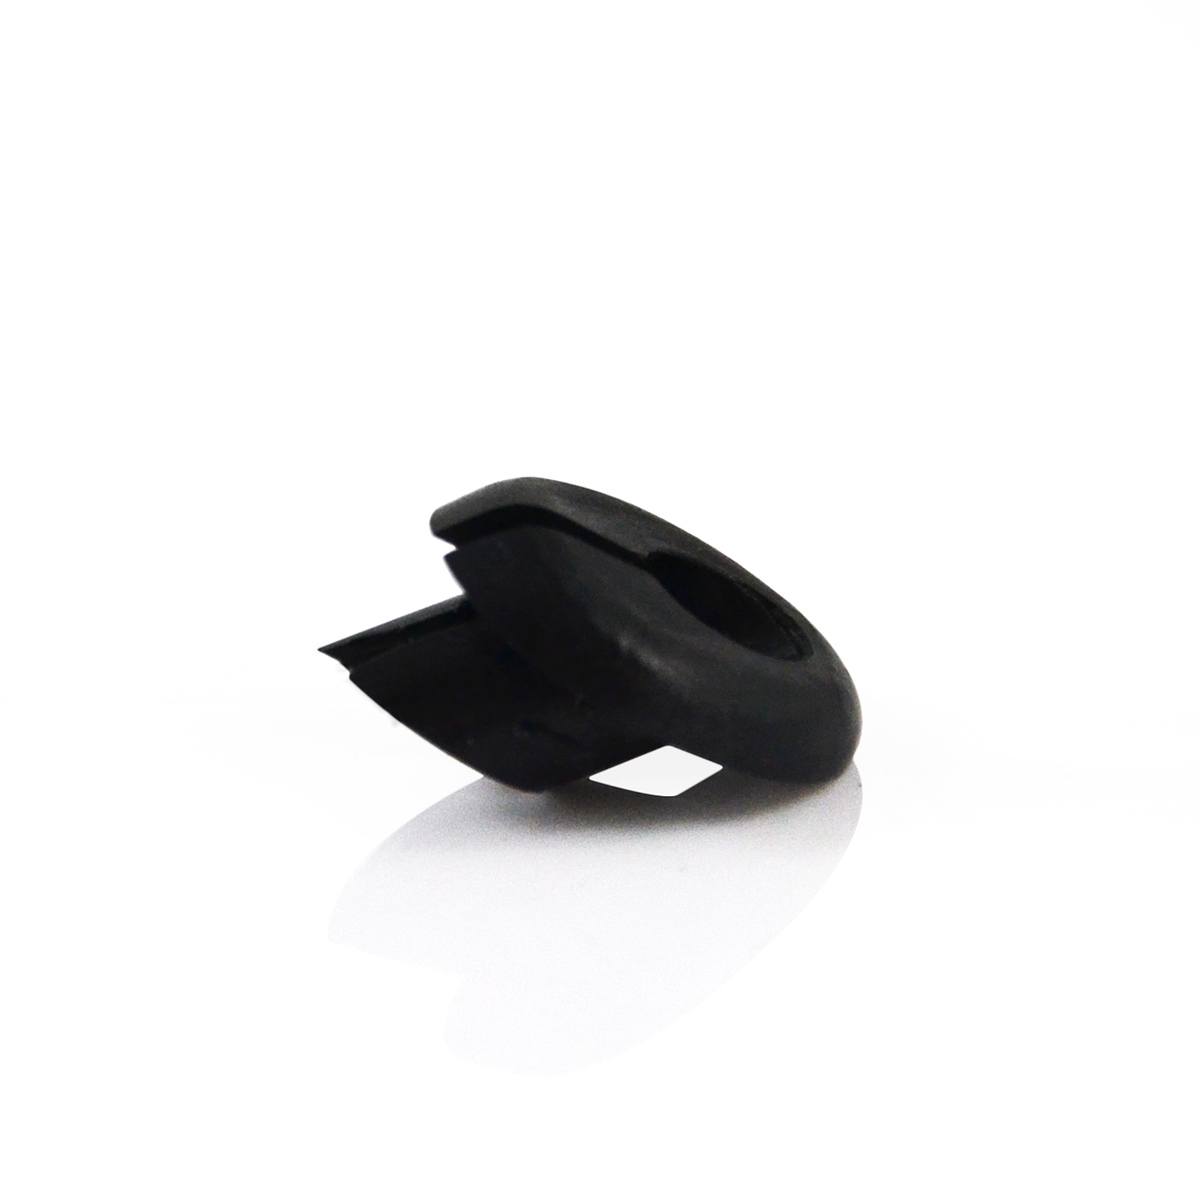
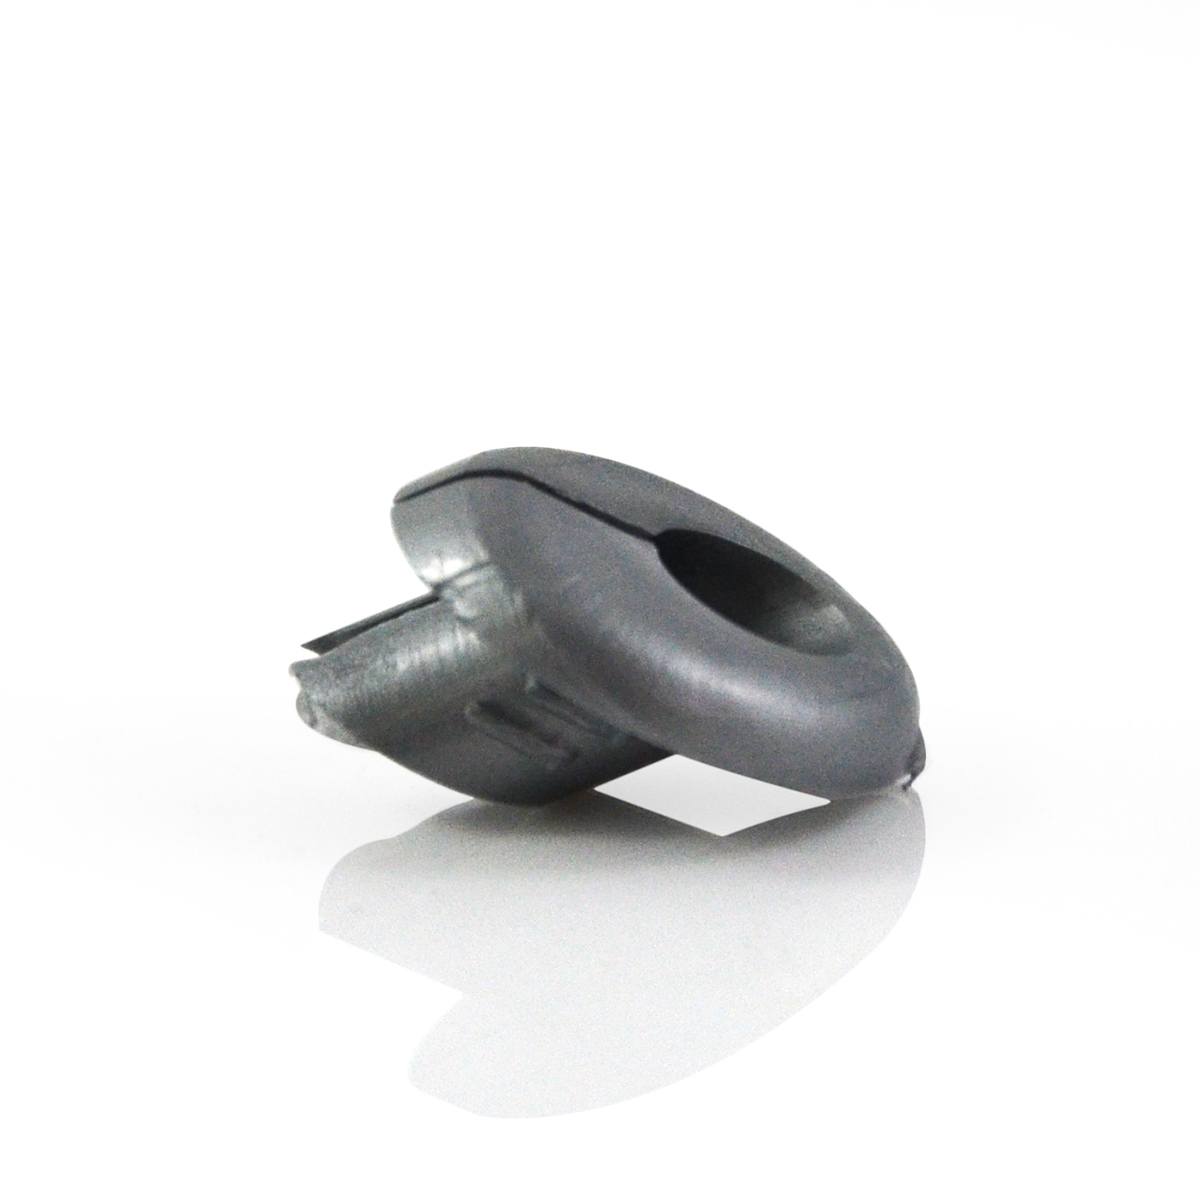
Using a 13mm countersink bit, countersink the posts for your threaded timber inserts
Pre-drill your post holes for the threaded inserts using a 9.5mm drill bit (for Cypress Pine posts). If hardwood posts, consider luricating the timber insert, and/or drilling a slightly larger hole. Caution is advised for using timber inserts with treated pine timber; you will want to maximise the thread bite and reduce the drill bit diameter to facilitate this.
Cut wire rope to length. The following calculations are recommended for the lengths, however there are some privisos. This assumes a minimum of 90x90mm posts. Take care not to allow the threads to intersect inside the posts on Cornersat (90°) or where timber inserts are in a Middle post and are back-to-back at 180°. If using 35mm terminals, deduct 62mm from the internal post-to-post measurement. If using 48mm terminals, deduct 70mm from the internal post-to-post measurement.
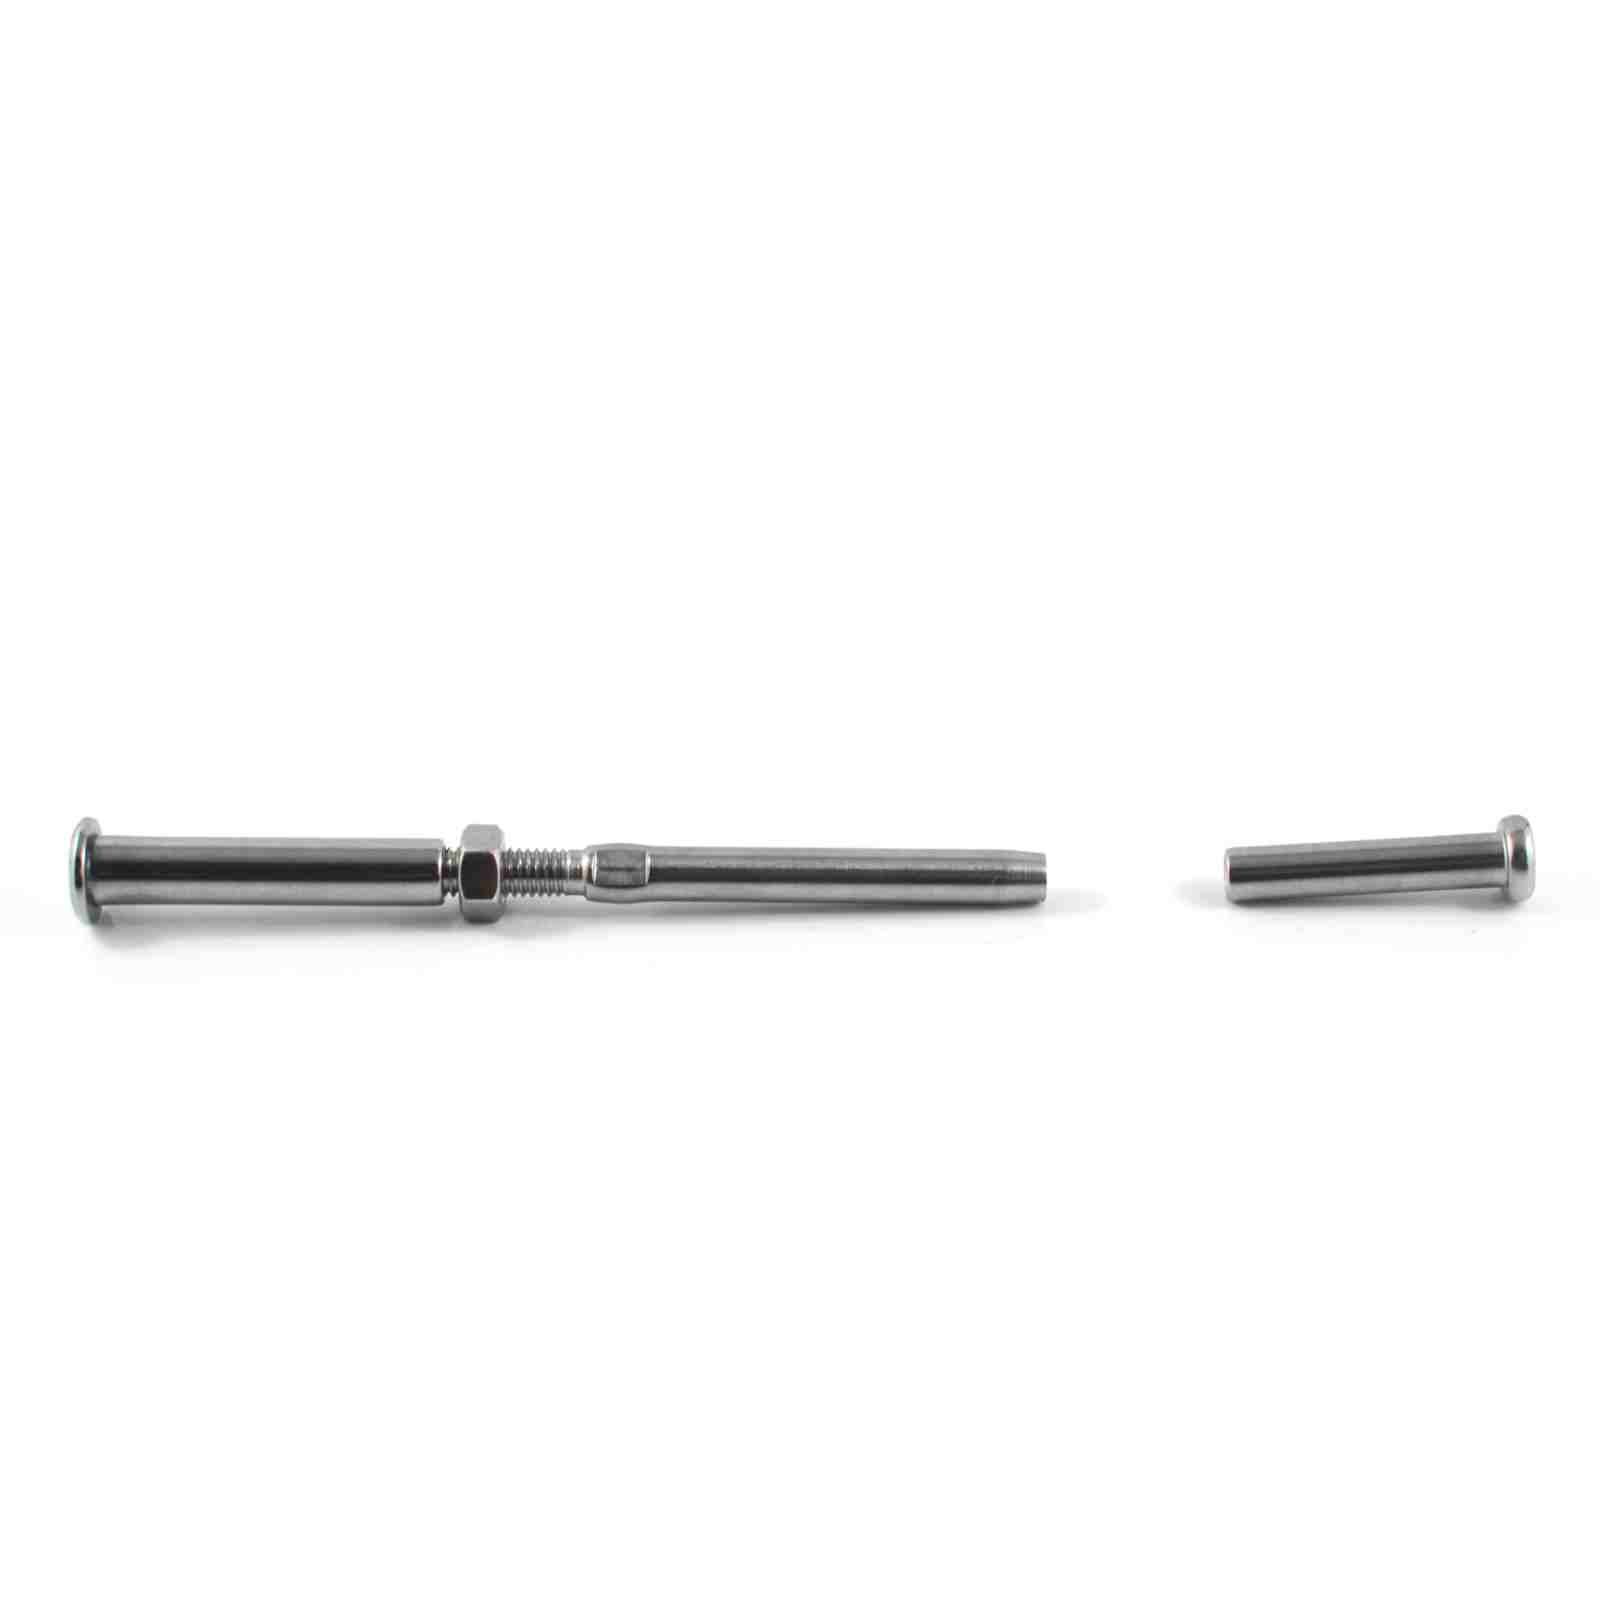
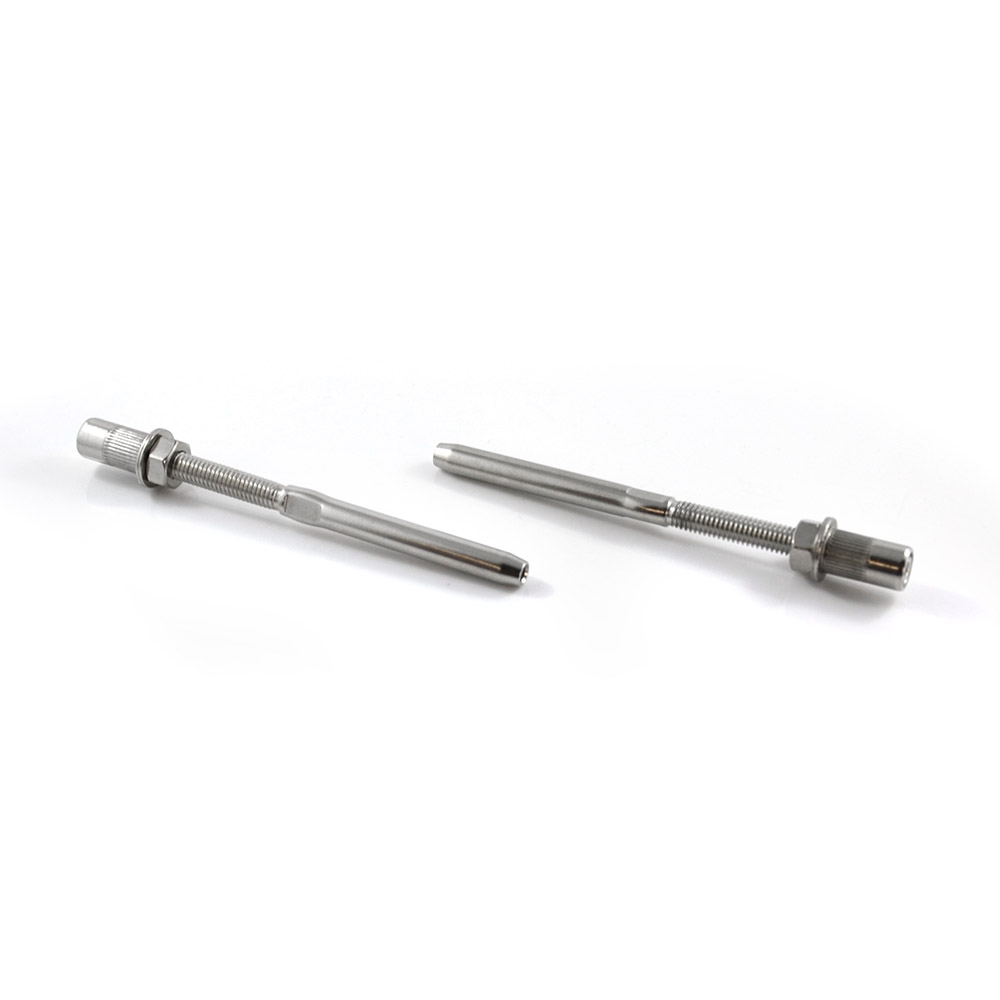
Insert the wire rope into the swage stud terminal ends at each end of your run.
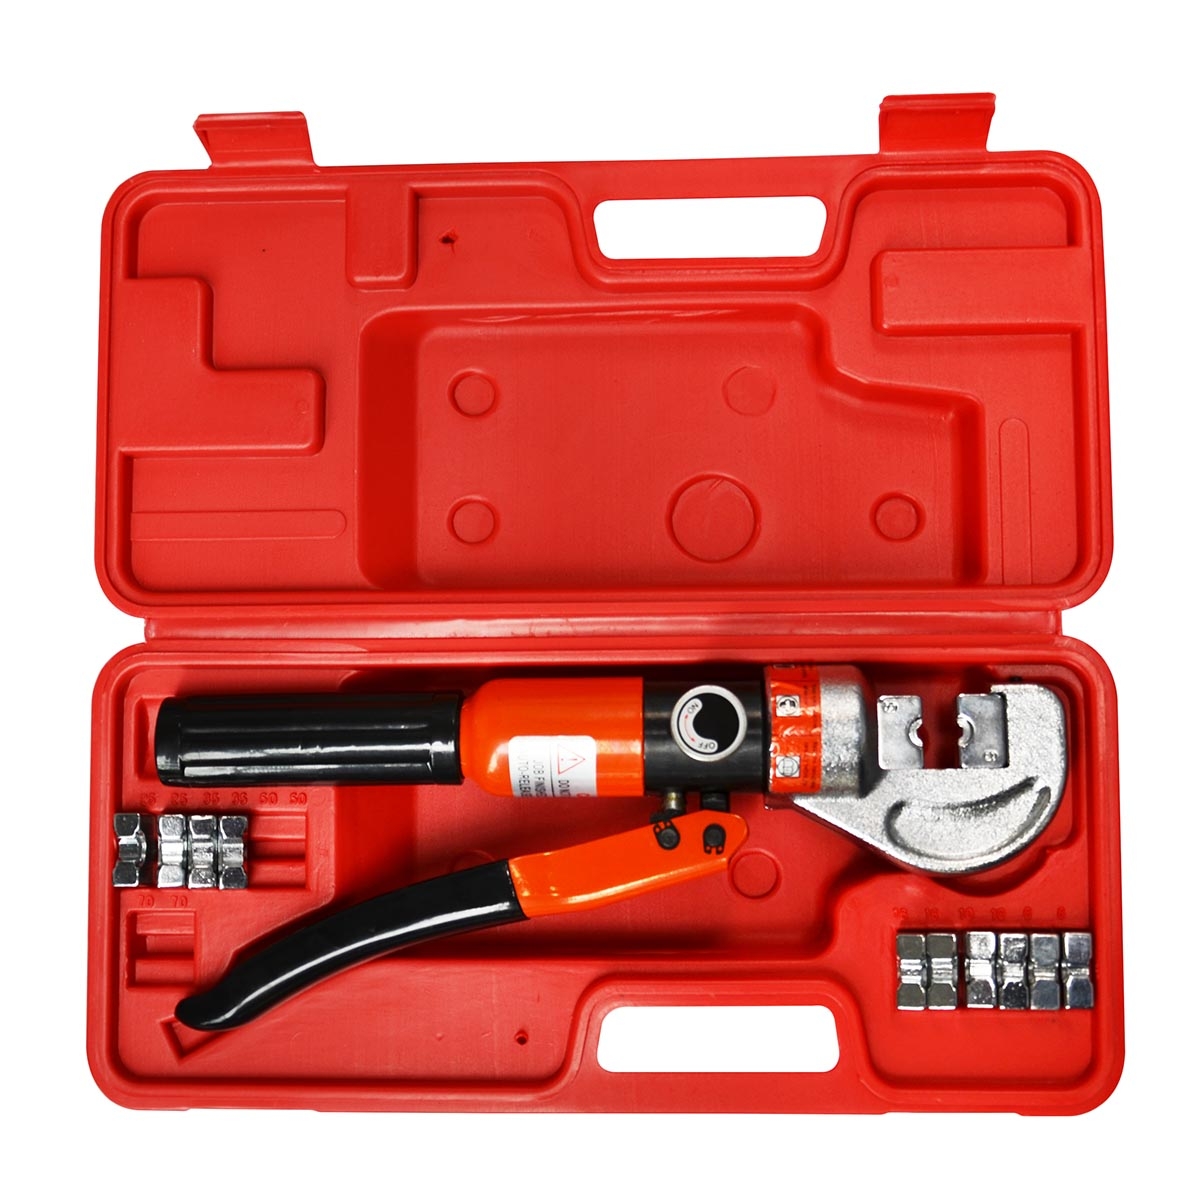
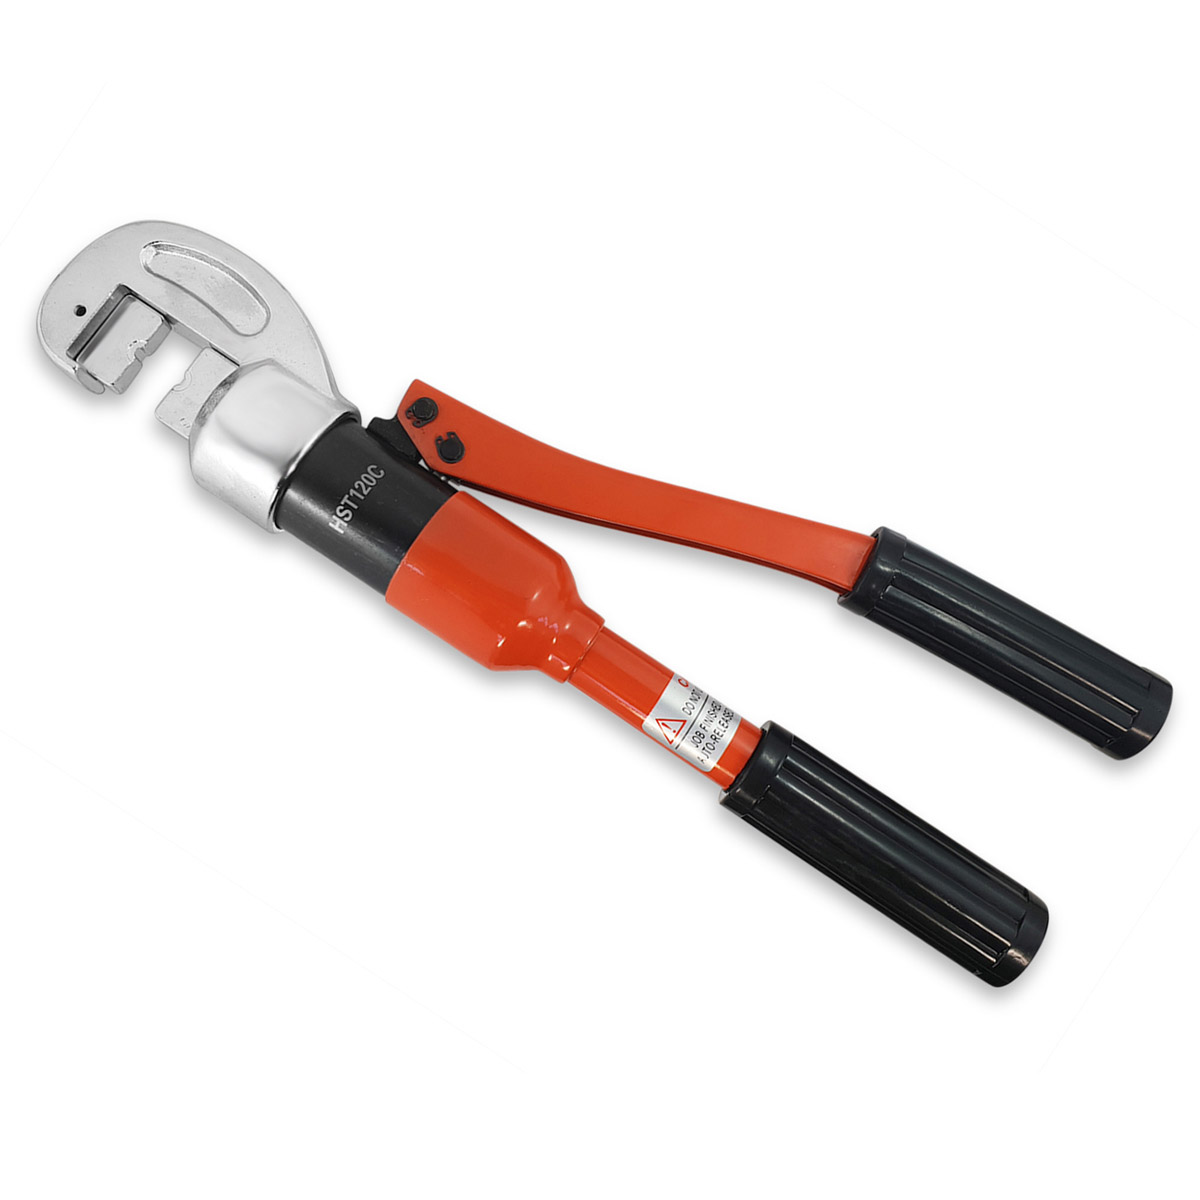
Crimp the swage terminals onto the wire. These fittings require the use of a hydraulic swaging tool. Alternately you opt for our Factory Swaging Service (Currently Unavailable) where we perform all the wire cutting and swaging.
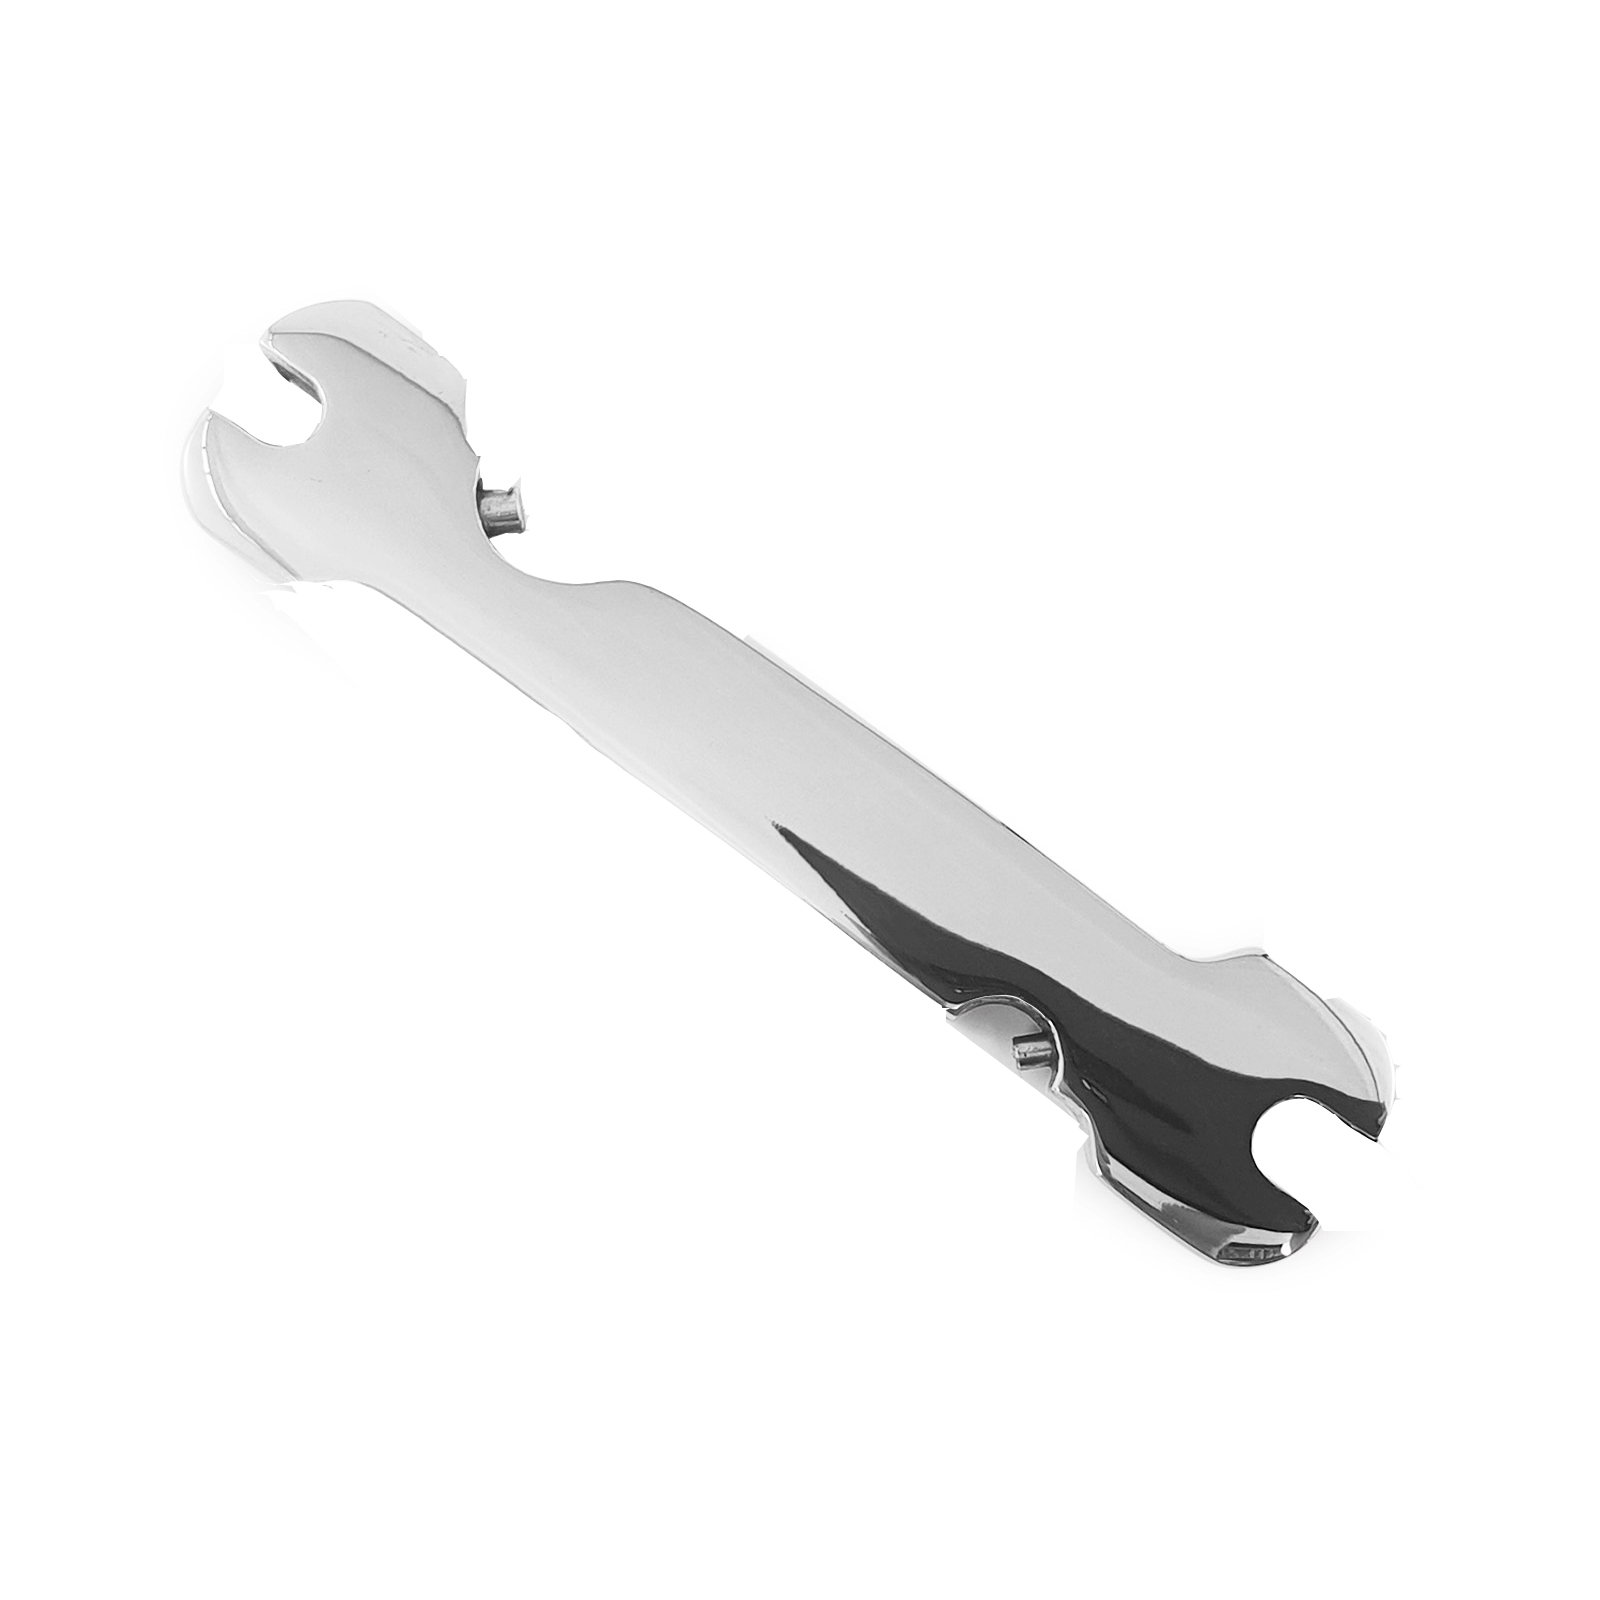
Thread the RHT and LHT swage stud terminals into the threaded timber inserts at the same time. As you do this, the wire will slowly tighten. It's important to thread both ends in at the same rate; don't thread one end in first or else you won't be able to thread the other end in. Thread with hands first and tension the swage stud terminals with a spanner multi tool or spanner.
Once the wire rope is tensioned, lock off the fittings with the nuts.
Customer Example
Featuring this Swage Stud Terminal & Threaded Timber Insert system, below is a great example of how nature and architecture can blend seamlessly. A beautiful forest vista complemented by slimline stainless wire balustrading.
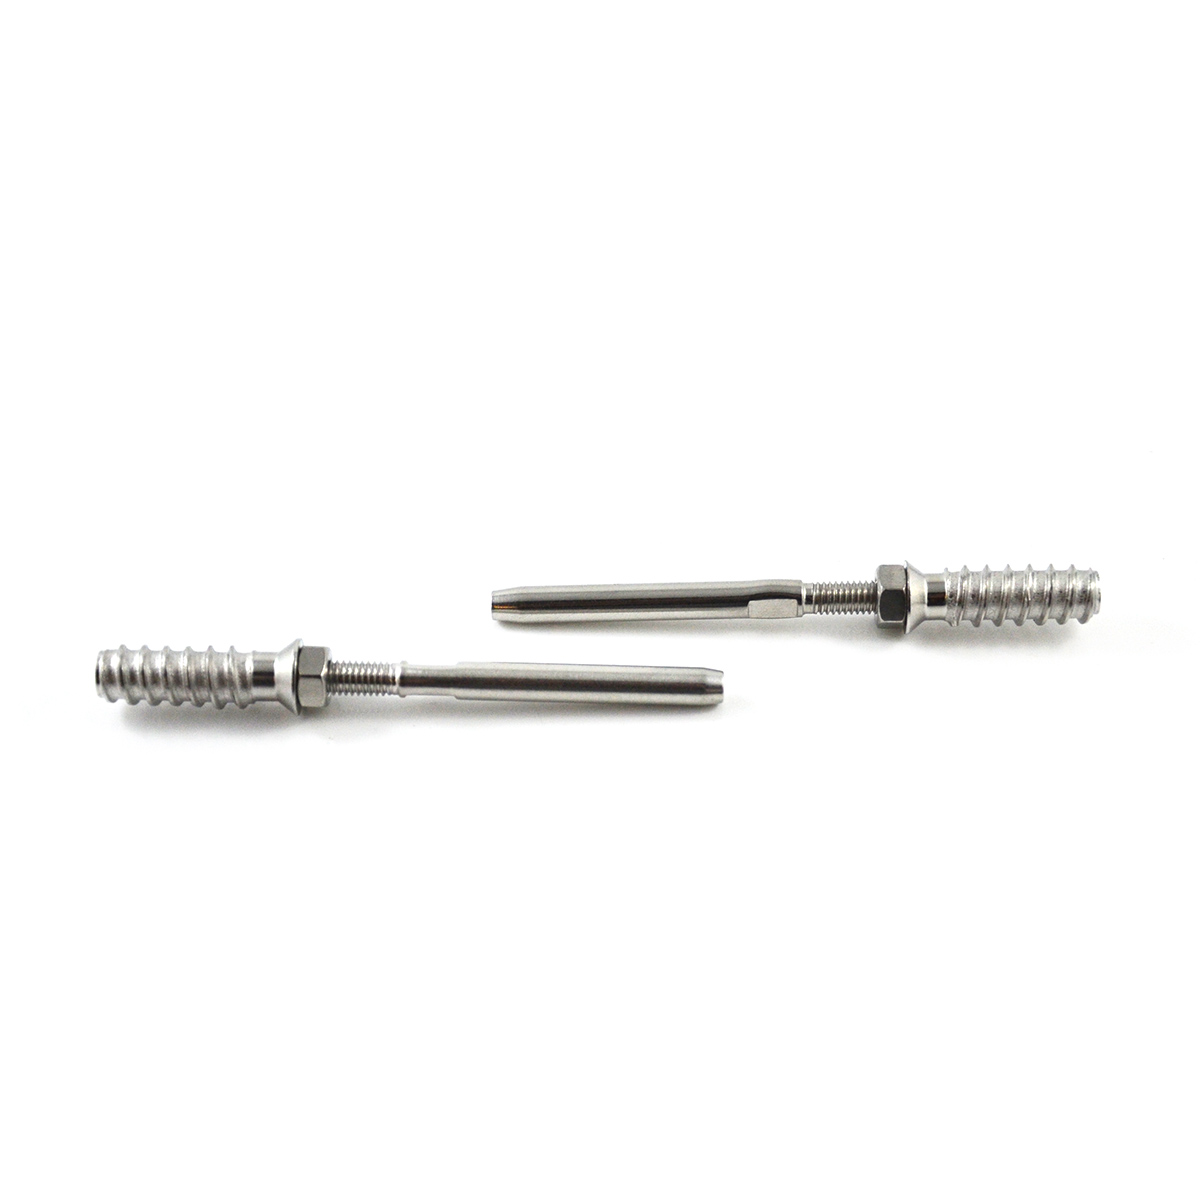
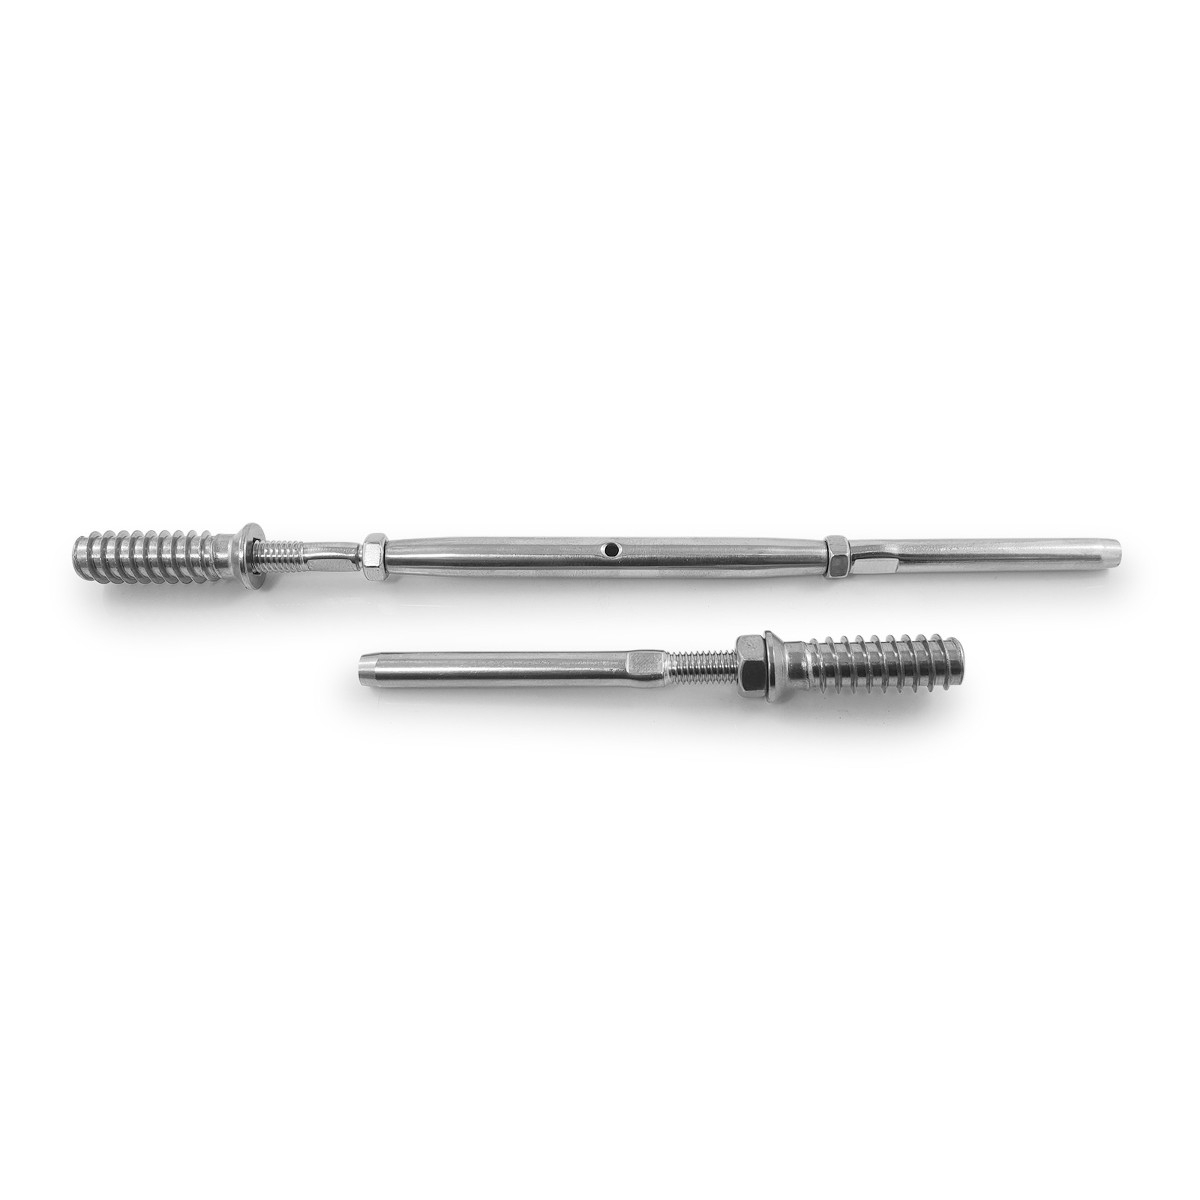
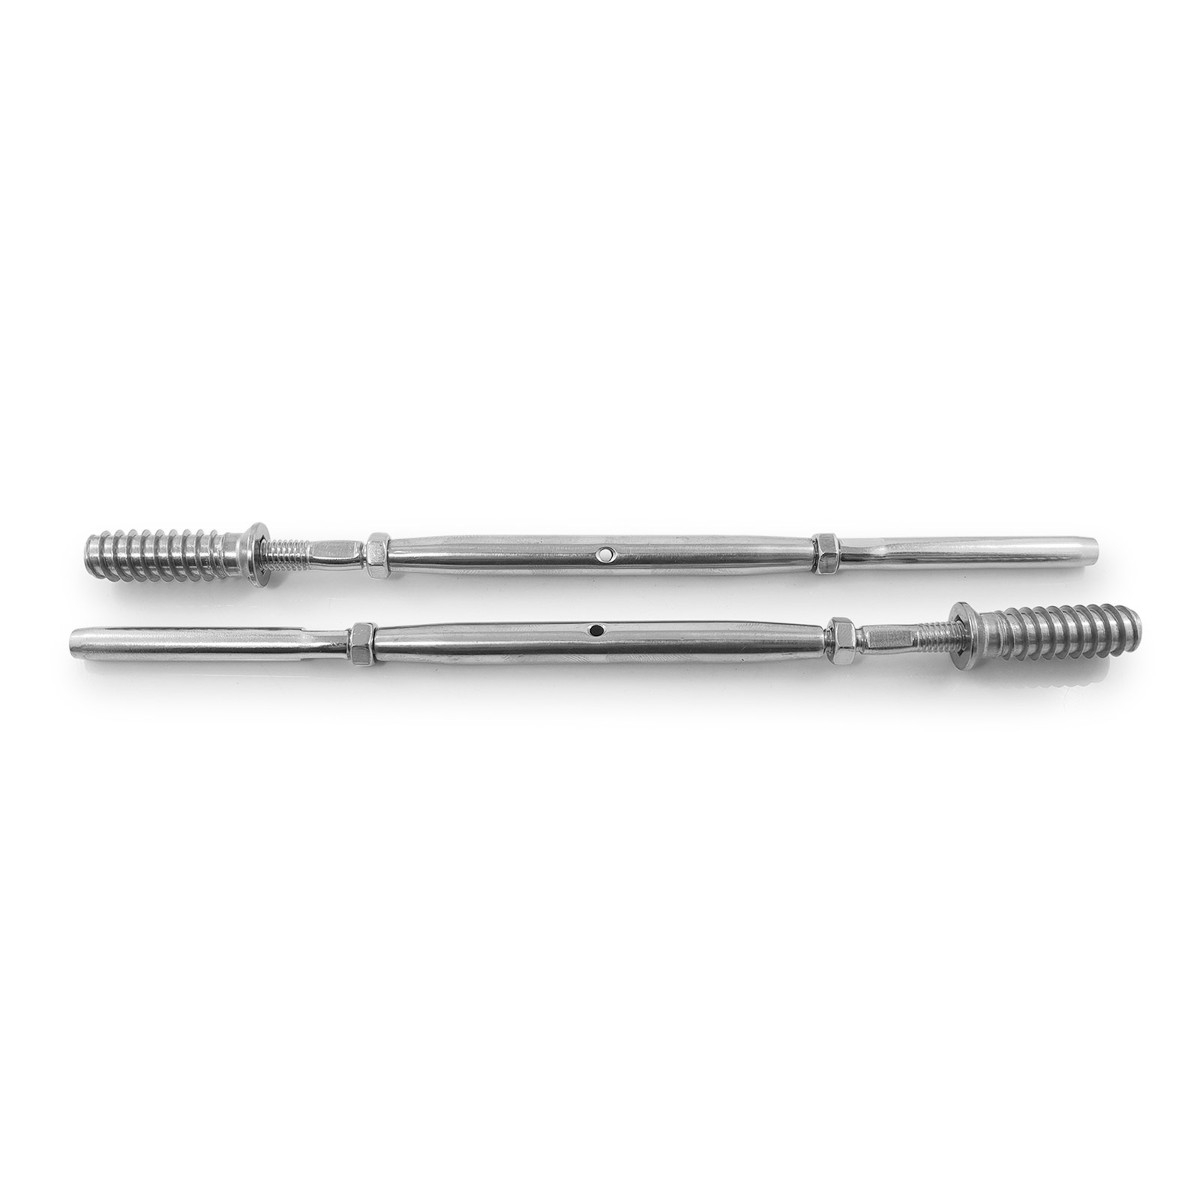
You have two options for the Swage Stud Terminals:
2x Swage Stud Terminal M6 x 48mm Thread, (100mm Overall Length). These are supplied standard as they're the most common in the market (ie. low cost). One LHT and one RHT.
or
2x Swage Stud Terminal M6 x 35mm Thread, (73mm Overall Length). A smaller profile for a more minimal look. One LHT and one RHT.
For technical requirements where you are unsure what products are and are not compatible please Contact Us.
Please note these are general Compatibilities/Incompatibilities, we cannot provide advice as to whether these components will meet the technical/structural requirements of your project. For this type of information you will need a builder, engineer or other qualified professional to assess your site and needs.